Strawberry Shortcake Mason Jars
Highlighted under: Sweet Homemade Goodness
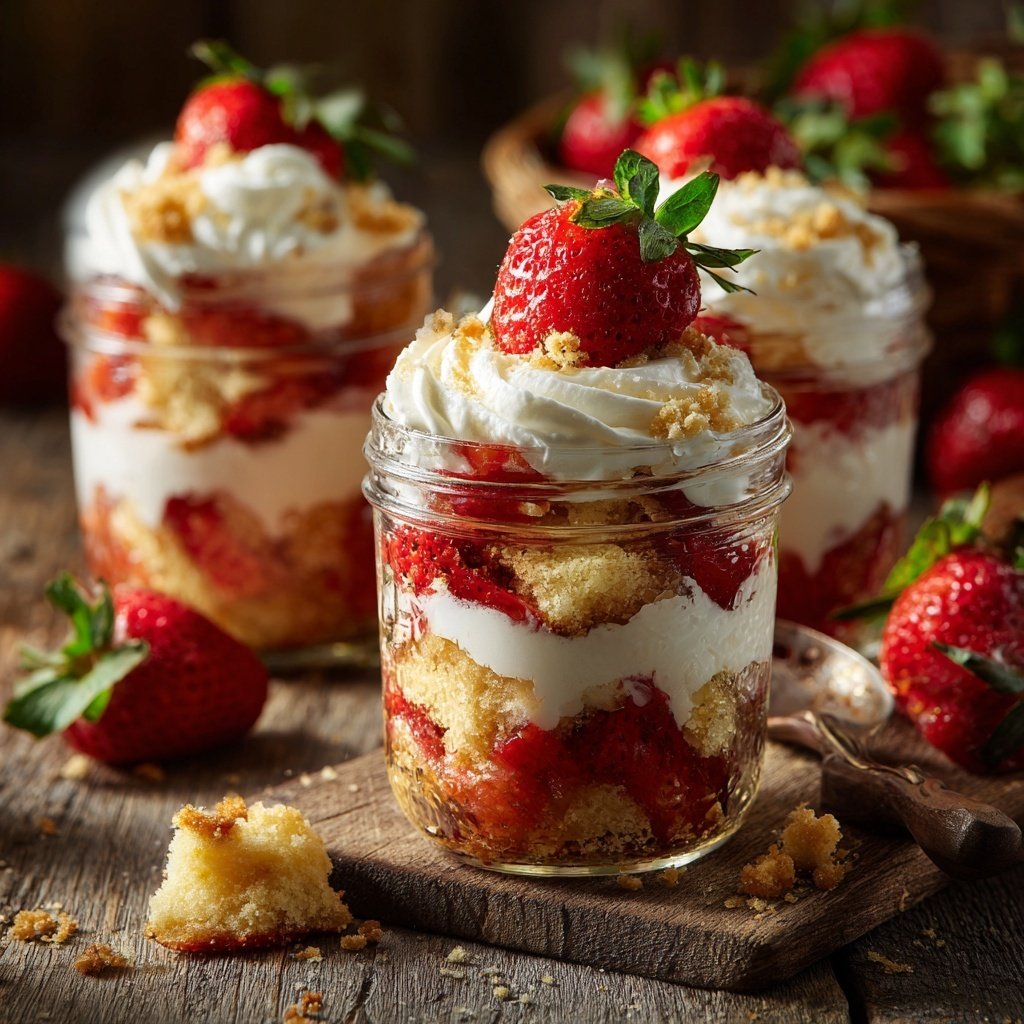
I absolutely love making Strawberry Shortcake Mason Jars, especially during the summer when strawberries are at their peak freshness. These little jars are not only adorable, but they also make serving dessert super easy and fun. Each layer is packed with flavor and texture, from the light and fluffy whipped cream to the buttery cake and fresh strawberries. It's a delightful treat that I find myself reaching for time and time again, whether it's for a picnic or just a sweet indulgence at home.
When I first crafted these Strawberry Shortcake Mason Jars, I was amazed at how simple yet elegant they turned out. The combination of fresh strawberries and fluffy whipped cream transforms the traditional shortcake into a chic dessert that feels special for any occasion. I have found that using ripe strawberries not only enhances the flavor but also adds a beautiful color to the jars.
Another tip I've learned is to layer the ingredients just before serving. This keeps the cake moist and the whipped cream fluffy, creating a delightful texture with each spoonful. Plus, the glass jars allow for a stunning presentation that impresses guests while keeping everything neat and tidy!
Why You'll Love This Recipe
- Layers of fresh, juicy strawberries meld beautifully with whipped cream.
- No fuss and easy to assemble, perfect for gatherings.
- Elegant presentation that will impress your guests!
Understanding the Shortcake
The shortcake is the foundation of this dessert, providing not just structure but also flavor. Using all-purpose flour allows for flexibility in texture—creating a tender crumb that complements the whipped cream and strawberries. Be careful not to overmix the batter once you add the milk and vanilla; a few lumps are okay. This ensures a lighter and fluffier cake. A golden exterior is your visual cue to confirm it's perfectly baked, typically after 15 minutes in a preheated oven at 350°F (175°C).
If you're in a pinch, you can substitute the all-purpose flour with a gluten-free blend, which works well without sacrificing too much texture. Keep in mind that the baking powder plays a crucial role here, so ensure it's fresh for the best rise. For added flavor, consider infusing the milk with a bit of lemon zest before mixing it into the batter. This subtle twist can lift the overall taste profile.
Crafting the Perfect Whipped Cream
When making whipped cream, the technique is as important as the ingredients. Start with cold heavy cream for optimal volume; I usually place my mixing bowl in the fridge for about 15 minutes before whipping. Beat the cream until soft peaks form, which shows that air is incorporating well—at this stage, it should still be pourable. Gradually add in powdered sugar and vanilla extract while beating until you achieve stiff peaks. The cream should hold its shape and have a glossy finish, indicating a perfectly whipped texture.
Avoid making the whipped cream too early, as it can lose its structure over time. If you need to prepare ahead, whip it just before serving to maintain its fluffy consistency. Alternatively, you can stabilize it by adding a tablespoon of cornstarch or gelatin dissolved in warm water. This helps maintain the desired texture, especially if the jars will sit for a while before serving.
Tips for Assembling and Serving
Assembly is where the magic happens! Begin with a layer of shortcake; make sure the pieces are reasonably uniform in size for an even distribution of flavors. I recommend using mason jars of the same size for a consistent look. You can create a beautiful visual with contrasting colors—try layering strawberries with their bright red amongst the light whipped cream and golden shortcake.
Serve the jars chilled, which is especially refreshing in summertime. They can be made a few hours in advance and stored in the refrigerator, but if they will be stored overnight, consider keeping the whipped cream separate to preserve its texture. For an extra touch, garnish with a whole strawberry or mint leaves just before serving for added elegance and color.
Ingredients
Gather all your ingredients for a delightful making experience.
For the Shortcake
- 1 cup all-purpose flour
- 1/4 cup granulated sugar
- 1/2 teaspoon baking powder
- 1/4 teaspoon salt
- 1/4 cup unsalted butter, softened
- 1/2 cup milk
- 1 teaspoon vanilla extract
For the Topping
- 2 cups fresh strawberries, sliced
- 1 cup heavy cream
- 1/4 cup powdered sugar
- 1 teaspoon vanilla extract
Prepare each layer with care for the best results!

Instructions
Follow these simple steps to create your Strawberry Shortcake Mason Jars.
Make the Shortcake
In a bowl, mix the flour, sugar, baking powder, and salt. Add the softened butter and blend until crumbly. Stir in the milk and vanilla extract until just combined. Pour the mixture into a greased baking dish and bake at 350°F (175°C) for 15 minutes or until golden.
Prepare the Whipped Cream
In a mixer, beat the heavy cream until soft peaks form. Gradually add the powdered sugar and vanilla while continuing to beat until stiff peaks form.
Assemble the Jars
Cut the baked shortcake into small pieces. In mason jars, add a layer of shortcake, followed by a layer of sliced strawberries, and then a layer of whipped cream. Repeat the layers until the jars are filled.
Serve immediately or keep in the refrigerator until ready to enjoy!
Pro Tips
- For the best flavor, use fresh, ripe strawberries and chill your whipped cream bowl before whipping.
Storage and Make-Ahead Options
To enjoy your Strawberry Shortcake Mason Jars over several days, store them in airtight containers in the fridge. The shortcake itself can last up to three days, while the whipped cream will start to lose its stability after a day or two. Keeping the layers separate until serving time can help maintain freshness, especially if you're planning to prepare them ahead of a gathering.
For quick assembly, consider preparing the shortcake and whipped cream the day before. Store the shortcake in a sealed container at room temperature to keep it from getting soggy, and remember to slice strawberries just before layering them, as they can release juices and affect the texture of the other ingredients.
Creative Variations
While the classic strawberry flavor is delightful, feel free to get creative with your choice of fruits! Ripe peaches, blueberries, or even a mix of berries can give this dessert a unique twist. Remember to adjust the sugar in the whipped cream based on the sweetness of the fruits you choose, as this affects the overall balance of the dessert.
For a decadent twist, try adding a layer of chocolate ganache between the shortcake and whipped cream. Simply melt dark chocolate with a bit of cream until smooth, cool it slightly, and then layer it into your mason jars. This gives a rich flavor that beautifully pairs with the freshness of the strawberries and whipped cream.
Questions About Recipes
→ Can I make this recipe ahead of time?
Yes! You can prepare the shortcake and whipped cream a day in advance. Assemble the jars just before serving for best texture.
→ Can I substitute other fruits?
Absolutely! Peaches, blueberries, or raspberries can be lovely alternatives to strawberries.
→ How long will these last in the fridge?
They're best enjoyed within 2-3 days, but can last up to a week if sealed properly.
→ Is there a gluten-free option?
Yes, you can substitute the all-purpose flour with a 1:1 gluten-free baking mix to make it gluten-free!
Strawberry Shortcake Mason Jars
Created by: Amelia Grant
Recipe Type: Sweet Homemade Goodness
Skill Level: Beginner
Final Quantity: 4 servings
What You'll Need
For the Shortcake
- 1 cup all-purpose flour
- 1/4 cup granulated sugar
- 1/2 teaspoon baking powder
- 1/4 teaspoon salt
- 1/4 cup unsalted butter, softened
- 1/2 cup milk
- 1 teaspoon vanilla extract
For the Topping
- 2 cups fresh strawberries, sliced
- 1 cup heavy cream
- 1/4 cup powdered sugar
- 1 teaspoon vanilla extract
How-To Steps
In a bowl, mix the flour, sugar, baking powder, and salt. Add the softened butter and blend until crumbly. Stir in the milk and vanilla extract until just combined. Pour the mixture into a greased baking dish and bake at 350°F (175°C) for 15 minutes or until golden.
In a mixer, beat the heavy cream until soft peaks form. Gradually add the powdered sugar and vanilla while continuing to beat until stiff peaks form.
Cut the baked shortcake into small pieces. In mason jars, add a layer of shortcake, followed by a layer of sliced strawberries, and then a layer of whipped cream. Repeat the layers until the jars are filled.
Extra Tips
- For the best flavor, use fresh, ripe strawberries and chill your whipped cream bowl before whipping.
Nutritional Breakdown (Per Serving)
- Calories: 320 kcal
- Total Fat: 18g
- Saturated Fat: 11g
- Cholesterol: 50mg
- Sodium: 150mg
- Total Carbohydrates: 36g
- Dietary Fiber: 2g
- Sugars: 20g
- Protein: 4g