Homemade Reese’s Cups Easy Recipe
Highlighted under: Sweet Homemade Goodness
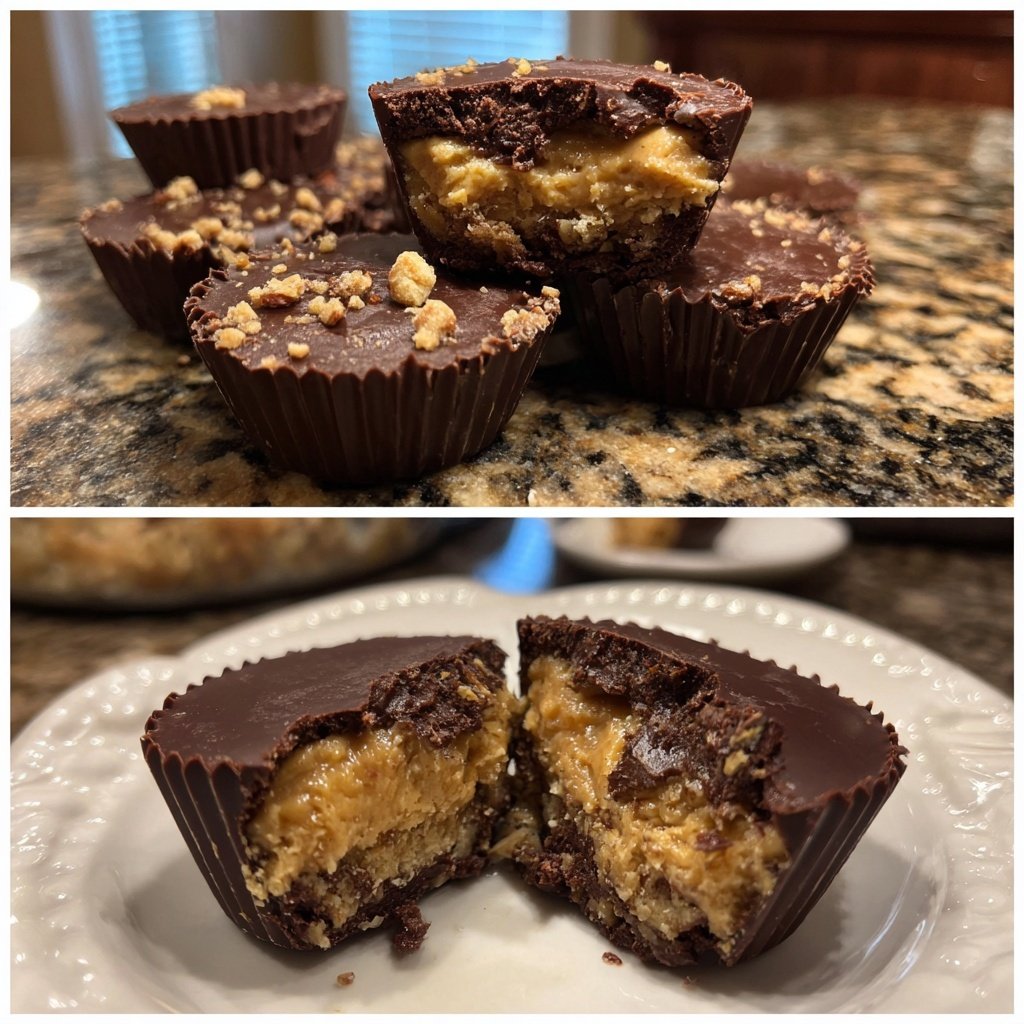
Indulge in the rich, creamy goodness of homemade Reese’s Cups. This easy recipe allows you to recreate the classic treat in your own kitchen with minimal effort.
Creating your own Reese’s Cups at home is not only fun but also allows you to customize the flavors to your liking. Whether you prefer a dark chocolate coating or extra peanut butter filling, this recipe is versatile and straightforward.
Why You'll Love This Recipe
- Rich chocolate flavor paired with fresh peanut butter
- Creamy texture that melts in your mouth
- Perfect for celebrations or as a sweet indulgence
The Joy of Homemade Treats
Making your own Reese’s Cups at home is a delightful experience that brings a sense of accomplishment. Unlike store-bought versions, homemade treats allow you to control the ingredients, ensuring quality and flavor. You can use organic peanut butter or choose dairy-free chocolate to cater to your dietary preferences. The process is simple, and the rewards are immeasurable—a fresh, indulgent treat ready to satisfy your cravings.
This recipe is not just about satisfying your sweet tooth; it’s also an opportunity to bond with family and friends. Whether you're making these cups for a birthday party, a movie night, or simply as a weekend project, the joy of creating something delicious together makes the experience even more enjoyable. Plus, who doesn’t love a little kitchen magic?
Perfect for Any Occasion
Homemade Reese’s Cups are incredibly versatile and perfect for various occasions. From holiday gatherings to casual get-togethers, these treats are sure to impress your guests. You can customize them by adding toppings like sea salt, crushed nuts, or even sprinkles to fit the theme of your celebration. Their charming presentation in muffin liners makes them an appealing addition to any dessert table.
These delightful cups also make excellent gifts. Wrap them in festive packaging or create a personalized box filled with your homemade treats. Friends and family will appreciate the thoughtfulness behind a sweet gift, especially when it comes from the heart. Share the love of chocolate and peanut butter with those you care about!
Storage and Variations
After making your homemade Reese’s Cups, proper storage is essential to maintain their deliciousness. Keep them in an airtight container in the fridge for up to two weeks. If you want to enjoy them longer, consider freezing them. They can last for up to three months in the freezer; just allow them to thaw at room temperature before indulging.
Feel free to experiment with variations of this classic recipe. Try using dark chocolate instead of milk chocolate for a richer flavor or substitute almond butter for a twist. You can even incorporate other flavors, such as adding a hint of vanilla to the peanut butter filling or mixing in some crushed pretzels for a sweet and salty combination. The possibilities are endless!
Ingredients
For the Cups
- 1 cup creamy peanut butter
- 1 cup powdered sugar
- 2 cups milk chocolate chips
- 1 tablespoon vegetable oil
Make sure to use high-quality chocolate for the best results.

Instructions
Melt the Chocolate
In a microwave-safe bowl, combine the milk chocolate chips and vegetable oil. Heat in the microwave in 30-second intervals, stirring in between, until fully melted and smooth.
Prepare the Muffin Tin
Line a muffin tin with paper liners. Use a spoon to scoop a small amount of melted chocolate into the bottom of each liner, spreading it evenly.
Make the Peanut Butter Filling
In a separate bowl, mix the creamy peanut butter and powdered sugar until well combined. Scoop a tablespoon of the mixture and place it on top of the chocolate layer in each liner.
Top with More Chocolate
Pour the remaining melted chocolate over the peanut butter layer, ensuring it covers completely. Tap the muffin tin lightly to remove any air bubbles.
Chill and Set
Place the muffin tin in the refrigerator and let the cups set for at least 20 minutes until firm. Once set, remove from the liners and enjoy!
Store any leftovers in an airtight container in the refrigerator.
Pro Tips
- For a twist, try adding a pinch of sea salt on top of the chocolate before chilling.
Tips for Success
To achieve the best results with your homemade Reese’s Cups, it’s important to measure your ingredients accurately. Use a kitchen scale for the peanut butter and chocolate to ensure that you have the right proportions. This will help maintain the ideal balance of flavors and textures, allowing your treats to turn out perfectly each time.
Another tip is to allow the melted chocolate to cool slightly before pouring it over the peanut butter layer. This prevents the heat from melting the peanut butter filling, which could result in a mess. Patience is key, so take your time to create the perfect layers!
Nutritional Information
While homemade Reese’s Cups are undoubtedly a treat, it's important to enjoy them in moderation. Each cup is rich in protein from the peanut butter, providing a satisfying snack. However, they do contain sugar and fats, so it's wise to keep portion sizes in check to maintain a balanced diet.
If you're looking for a lighter option, consider reducing the amount of powdered sugar in the filling or using a sugar substitute. This way, you can enjoy your homemade treat while being mindful of your sugar intake. Remember, the key is to balance indulgence with mindful eating!
Questions About Recipes
→ Can I use dark chocolate instead of milk chocolate?
Absolutely! Dark chocolate will give a richer flavor.
→ How long do these homemade cups last?
They can be stored in an airtight container in the fridge for up to a week.
→ Can I make these cups vegan?
Yes, use dairy-free chocolate and natural peanut butter to make them vegan.
→ What can I use instead of powdered sugar?
You can blend granulated sugar until fine, or use coconut sugar for a healthier option.
Homemade Reese’s Cups Easy Recipe
Created by: Amelia Grant
Recipe Type: Sweet Homemade Goodness
Skill Level: Beginner
Final Quantity: 12 servings
What You'll Need
For the Cups
- 1 cup creamy peanut butter
- 1 cup powdered sugar
- 2 cups milk chocolate chips
- 1 tablespoon vegetable oil
How-To Steps
In a microwave-safe bowl, combine the milk chocolate chips and vegetable oil. Heat in the microwave in 30-second intervals, stirring in between, until fully melted and smooth.
Line a muffin tin with paper liners. Use a spoon to scoop a small amount of melted chocolate into the bottom of each liner, spreading it evenly.
In a separate bowl, mix the creamy peanut butter and powdered sugar until well combined. Scoop a tablespoon of the mixture and place it on top of the chocolate layer in each liner.
Pour the remaining melted chocolate over the peanut butter layer, ensuring it covers completely. Tap the muffin tin lightly to remove any air bubbles.
Place the muffin tin in the refrigerator and let the cups set for at least 20 minutes until firm. Once set, remove from the liners and enjoy!
Extra Tips
- For a twist, try adding a pinch of sea salt on top of the chocolate before chilling.
Nutritional Breakdown (Per Serving)
- Calories: 380 kcal
- Total Fat: 26g
- Saturated Fat: 15g
- Cholesterol: 0mg
- Sodium: 85mg
- Total Carbohydrates: 32g
- Dietary Fiber: 3g
- Sugars: 24g
- Protein: 6g