Classic Butter Thumbprint Cookies
Highlighted under: Holiday Table Traditions
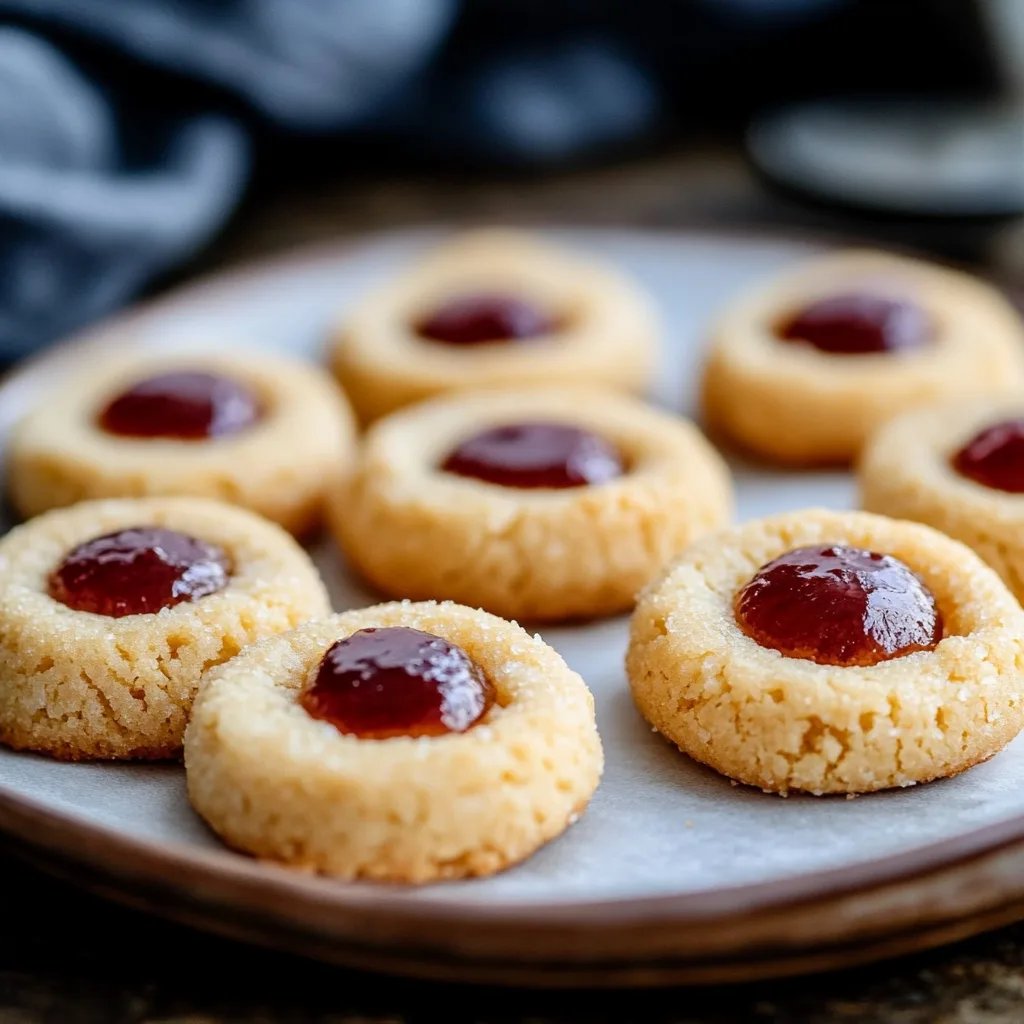
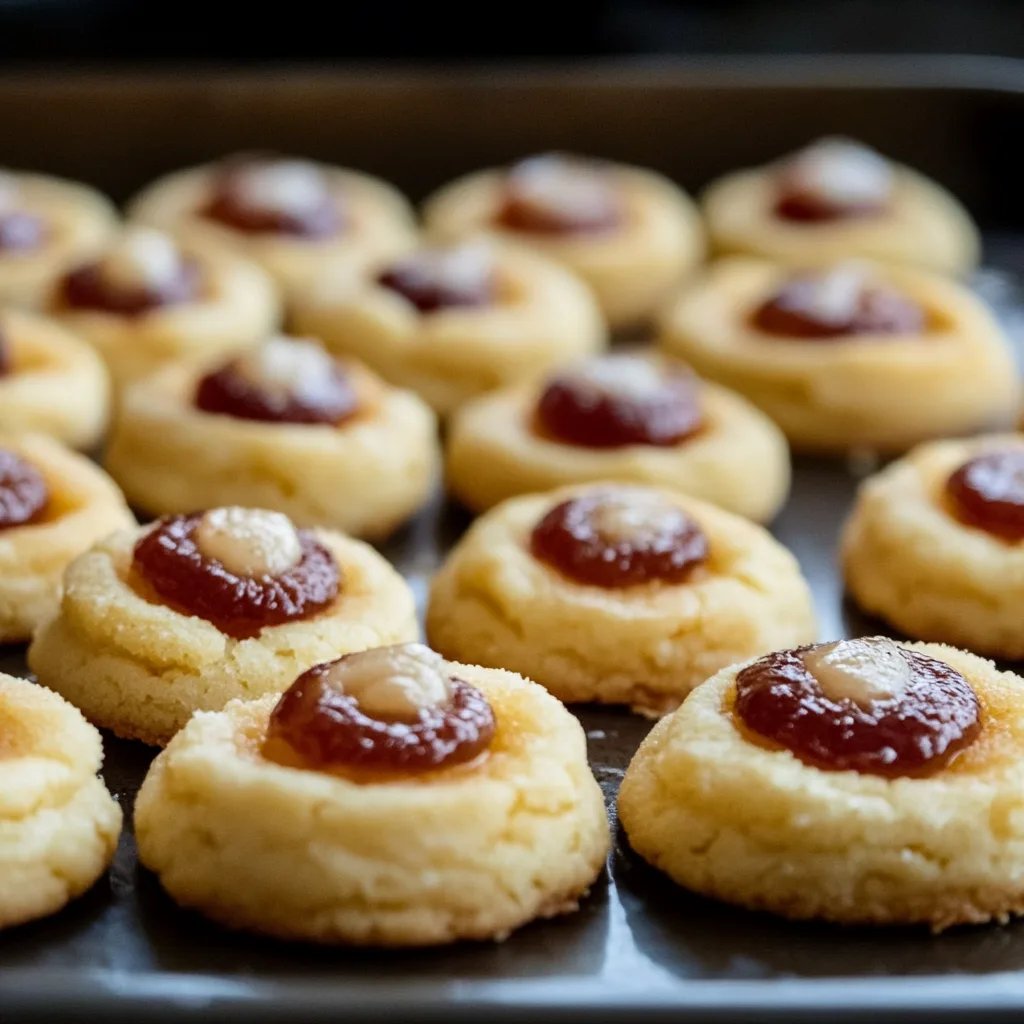
These Classic Butter Thumbprint Cookies are a delightful holiday treat, featuring a buttery base and a signature thumbprint filled with your choice of jam or chocolate. Perfect for gifting or enjoying with a cup of tea, these cookies are easy to make and sure to impress friends and family at your holiday gatherings. Their tender, melt-in-your-mouth texture and festive appeal make them a staple in every Christmas cookie lineup.
Classic Butter Thumbprint Cookies are a traditional favorite during the holiday season, combining rich buttery flavor with the sweetness of jam or chocolate.
The Origin of Thumbprint Cookies
Thumbprint cookies have a delightful history that traces back to Eastern Europe, where they are known as 'bump cookies.' The name comes from the method of forming the cookies—using one's thumb to create small indents ready to be filled with jam or chocolate. This beloved treat has been a staple in many households during festive seasons, providing a perfect balance of flavor and texture that makes them irresistible.
As these cookies spread across the globe, various cultures adopted their variations, each adding a personal touch to the classic recipe. The versatility of thumbprint cookies allows bakers to experiment with different fillings, making them a customizable option for any celebration. Today, they remain a cherished holiday favorite in many families, cherished for their ease of preparation and delightful presentation.
Perfecting Your Technique
Successfully making Classic Butter Thumbprint Cookies hinges on a few simple techniques. Start by ensuring that your butter is fully softened, as this helps to create a light and fluffy dough. It's essential to cream the butter and sugar until they are well combined and airy, which contributes to the melt-in-your-mouth texture that these cookies are known for.
When measuring your flour, be sure to spoon it into your measuring cup and level it off to avoid packing it in. Over-measuring can lead to dry cookies, so accuracy is key. Additionally, making the thumbprint indentation shouldn’t be rushed; gently pressing down with your thumb will create a well-shaped pocket that holds the filling beautifully.
Tips for Filling and Storage
The filling choices for your thumbprint cookies are endless—fruit jams, chocolate ganache, or even nut butters bring unique flavors to each bite. When filling, be careful not to overfill to prevent spills during baking, as these can create a sticky mess that’s difficult to clean. Just a small dollop is often enough to create a delicious, gooey center.
Once baked, allow the cookies to cool completely before storing them in an airtight container, where they can last for up to a week. These cookies also freeze beautifully, making them ideal for preparing ahead of time during the busy holiday season. Enjoy them fresh or pop them in a microwave for a few seconds for a warm treat!
Ingredients
Gather all of the ingredients before you start baking for a smoother experience.
Ingredients
- 1 cup unsalted butter, softened
- 2/3 cup sugar
- 1 teaspoon vanilla extract
- 2 cups all-purpose flour
- 1/4 teaspoon salt
- Jam or chocolate for filling
Make sure to use your favorite jam or chocolate to personalize these cookies!
Instructions
Follow these steps carefully for perfect cookies.
Preheat the Oven
Preheat your oven to 350°F (175°C) and line a baking sheet with parchment paper.
Make the Dough
In a mixing bowl, cream together the softened butter and sugar until light and fluffy. Stir in the vanilla extract.
Combine Ingredients
Gradually add the flour and salt to the butter mixture, mixing until just combined.
Form the Cookies
Roll the dough into 1-inch balls and place them on the prepared baking sheet. Make an indentation in the center of each ball using your thumb.
Fill with Jam or Chocolate
Fill each indentation with your choice of jam or chocolate.
Bake
Bake in the preheated oven for 10-12 minutes or until the edges are golden.
Cool and Serve
Let the cookies cool on the baking sheet for a few minutes before transferring them to a wire rack.
Allow the cookies to cool completely before enjoying or packaging them for gifts.
Pro Tips
For an extra touch, sprinkle powdered sugar on top before serving.
Serving and Gifting Ideas
Classic Butter Thumbprint Cookies make for an excellent gifting option during the holidays. Whether you’re making a batch for a cookie swap or simply sharing with friends and family, these cookies can be beautifully packed in decorative boxes or jars. Pair them with a handwritten note or a festive ribbon for an extra personal touch that recipients will adore.
Serving these cookies with a hot beverage, such as coffee or tea, can elevate the experience. Consider hosting a cozy gathering where guests can enjoy various flavors of thumbprint cookies alongside their favorite drinks. This setting not only highlights the cookies but also encourages delightful conversation among friends.
Variations to Try
As you become comfortable with the classic recipe, don't hesitate to try creative variations! Consider adding zests from oranges or lemons to the dough for a citrusy twist, or try incorporating chopped nuts into the dough for added crunch. Infusing unique flavors into your thumbprint cookies allows you to keep the recipe fresh and exciting.
You can also explore seasonal fillings—like pumpkin or pecan pie filling for fall, or coconut and tropical fruit jam for summer. Each variation offers a new experience while maintaining the comforting essence of thumbprint cookies, making every batch special.
Questions About Recipes
→ Can I use other fillings?
Yes! You can use any type of jam, chocolate, or even nut butters.
→ How should I store the cookies?
Store them in an airtight container at room temperature for up to a week.
Classic Butter Thumbprint Cookies
Created by: Amelia Grant
Recipe Type: Holiday Table Traditions
Skill Level: Easy
Final Quantity: 24 cookies
What You'll Need
Ingredients
- 1 cup unsalted butter, softened
- 2/3 cup sugar
- 1 teaspoon vanilla extract
- 2 cups all-purpose flour
- 1/4 teaspoon salt
- Jam or chocolate for filling
How-To Steps
Preheat your oven to 350°F (175°C) and line a baking sheet with parchment paper.
In a mixing bowl, cream together the softened butter and sugar until light and fluffy. Stir in the vanilla extract.
Gradually add the flour and salt to the butter mixture, mixing until just combined.
Roll the dough into 1-inch balls and place them on the prepared baking sheet. Make an indentation in the center of each ball using your thumb.
Fill each indentation with your choice of jam or chocolate.
Bake in the preheated oven for 10-12 minutes or until the edges are golden.
Let the cookies cool on the baking sheet for a few minutes before transferring them to a wire rack.
Extra Tips
For an extra touch, sprinkle powdered sugar on top before serving.
Nutritional Breakdown (Per Serving)
- Calories: 80
- Total Fat: 5g
- Saturated Fat: 3g
- Cholesterol: 15mg
- Sodium: 30mg
- Total Carbohydrates: 9g
- Dietary Fiber: 0g
- Sugars: 4g
- Protein: 1g